How to Make Metal Art Décor: A DIY Guide
Metal art décor is a fantastic way to add an industrial, rustic, or modern touch to your home. Whether you’re creating a simple wall piece or a complex sculpture, metal art allows for endless creativity. If you’ve ever wondered how to make metal art décor, this guide will walk you through the process, from choosing materials to adding the final touches.
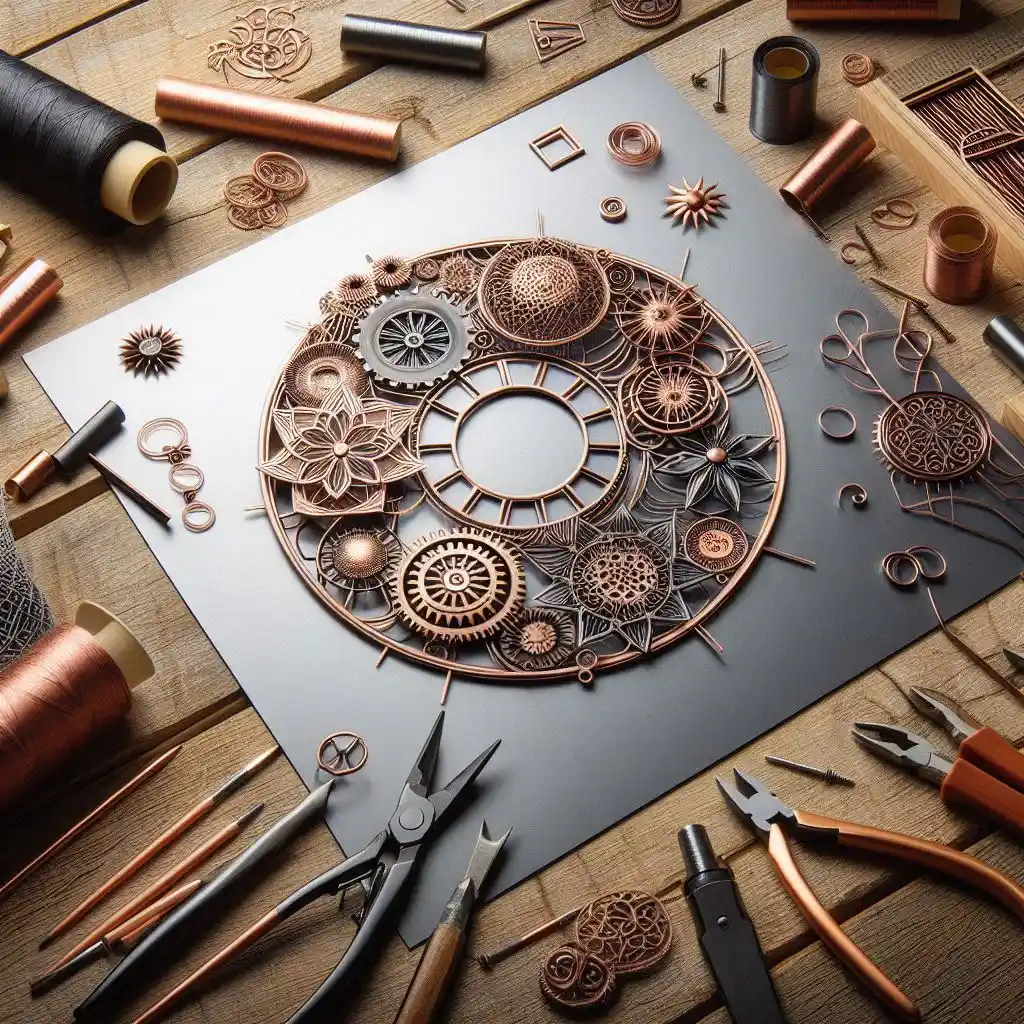
Materials Needed for Metal Art Decor
Before you start, gather the essential materials:
✔ Metal Sheets or Scrap Metal – Aluminum, steel, or copper are suitable options.
✔ Cutting Tools – A plasma cutter, metal shears, or a jigsaw with a metal-cutting blade.
✔ Welding or Joining Tools – MIG or TIG welder, rivets, or strong adhesives.
✔ Grinder or Sandpaper – For smoothing edges and refining details.
✔ Metal Paint or Patina – To add color and protection.
✔ Safety Gear – Gloves, safety glasses, and a mask to protect yourself while cutting and welding.
Step-by-Step Guide to Creating Metal Art Decor
Step 1: Choose Your Design
Sketch your idea on paper or use a digital design program. Decide whether you want a wall hanging, a freestanding sculpture, or a functional decorative piece, such as a DIY metallic art clock or sign.
Step 2: Cut the Metal
Use a plasma cutter, metal shears, or a jigsaw to cut out your design. If you're working with thick metal, a plasma cutter is the best option for precision. Sand the edges to remove any sharp or rough spots.
Step 3: Shape and Assemble
Bend the metal using a hammer or shaping tools for a 3D effect. If you’re making layered metal art, arrange the pieces and weld or rivet them together.
Step 4: Add Texture and Details
Use a grinder to create patterns, etching tools for engraving, or a hammer for a hammered metal look. You can also experiment with different metal finishes, such as brushed, polished, or rusted effects.
Step 5: Paint or Seal
Apply a metal-friendly paint, patina, or clear sealant to protect your artwork from rust and enhance its appearance. Spray paints designed for metal work well for a sleek finish, while patinas create an aged look.
Step 6: Mount or Display
If it’s a wall piece, drill small holes and attach hanging hardware. For sculptures, ensure the base is stable and balanced.
Creative Metal Art Décor Ideas
✔ Metal Wall Hangings – Cut out abstract shapes, nature-inspired designs, or custom name signs.
✔ Recycled Metal Sculptures – Utilize old bike chains, gears, or silverware to create unique pieces.
✔ Welded Art Panels – Create layered, 3D artwork with different metal textures.
✔ Outdoor Metal Décor – Weather-resistant garden sculptures, wind chimes, or fence accents.
✔ Metal Furniture Accents – Custom table legs, drawer handles, or decorative brackets.
Final Thoughts
Creating metal art décor is a rewarding process that allows you to blend creativity with craftsmanship. Whether you’re a beginner or an experienced metalworker, experimenting with different techniques and finishes will help you create one-of-a-kind pieces. Ready to get started on your DIY metal art project?
Comments
Post a Comment